Trezor.io/start – Complete Setup Guide for Your Trezor Hardware Wallet
Introduction: Why Start at Trezor.io/start
Trezor.io/start is the official and safest place to begin setting up your Trezor hardware wallet. In the world of cryptocurrency, security is critical, and choosing the correct setup process protects your digital assets from theft, hacking, and online threats. Trezor hardware wallets store private keys offline, giving users complete ownership and control over their cryptocurrencies.
This guide provides a clear, step-by-step walkthrough—from opening your Trezor device to managing your crypto securely using Trezor Suite.
Understanding the Trezor Hardware Wallet
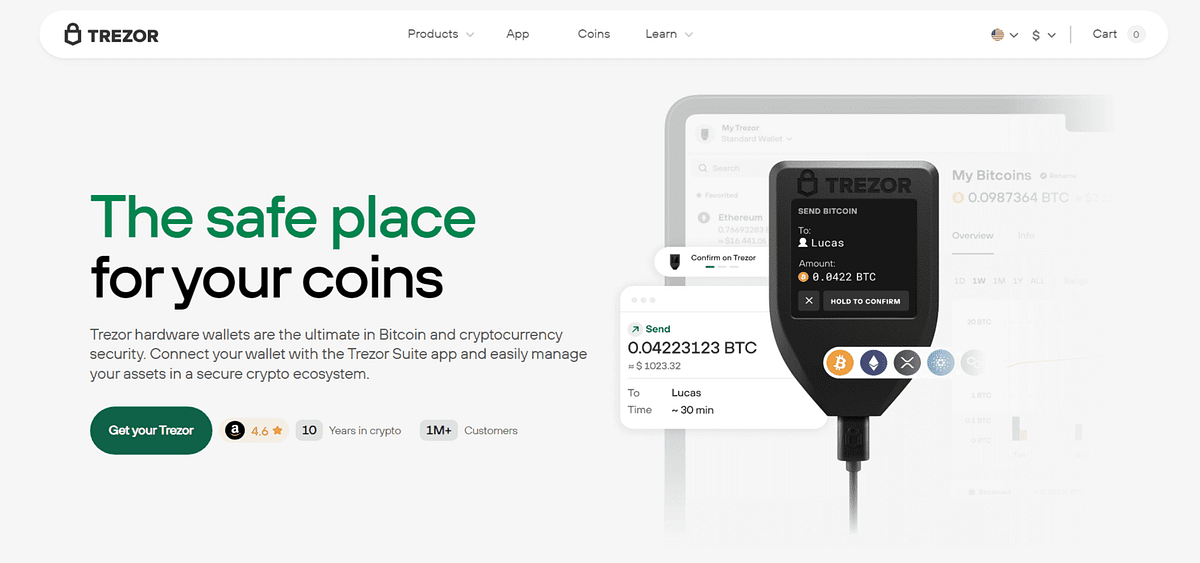
A Trezor hardware wallet is a physical device designed to securely store cryptocurrency private keys offline. Unlike online wallets or exchanges, Trezor ensures that sensitive data never touches the internet.
Main Advantages of Trezor Wallets
Cold Storage Security: Private keys remain offline
Strong Protection: PIN and optional passphrase support
Wide Compatibility: Supports thousands of coins and tokens
Open-Source Design: Transparent and community-verified
Trusted Worldwide: Used by millions of crypto users
Starting at Trezor.io/start guarantees you are following official and secure instructions.
Unboxing and Inspecting Your Trezor Device
Before starting setup, carefully inspect your Trezor package to ensure it has not been tampered with.
What to Look For
Sealed packaging with no damage
No pre-written recovery seed
Correct device model (Trezor One or Trezor Model T)
Included USB cable and recovery cards
Trezor uses tamper-evident packaging to ensure device authenticity.
Step 1: Navigate to Trezor.io/start
Trezor.io/start is the official onboarding page where setup begins. This page helps you:
Download the official Trezor Suite software
Follow verified setup instructions
Learn essential wallet security practices
Never trust third-party websites claiming to offer setup assistance.
Step 2: Download and Install Trezor Suite
Trezor Suite is the official desktop and web application used to manage your Trezor wallet.
How to Install Trezor Suite
Visit Trezor.io/start
Download Trezor Suite for Windows, macOS, or Linux
Install and launch the application
Connect your Trezor device via USB
Downloading only from the official website prevents malware risks.
Step 3: Initialize Your Trezor Wallet
After connecting the device, Trezor Suite will guide you through initialization.
Initialization Steps
Select Create New Wallet
Install the latest firmware if prompted
Choose and confirm a strong PIN
Your PIN protects the wallet if the device is lost or accessed without permission.
Step 4: Generate and Record Your Recovery Seed
During setup, Trezor generates a recovery seed made up of 12, 18, or 24 words. This seed allows you to recover your wallet if your device is lost or damaged.
Recovery Seed Safety Guidelines
Write the words on the recovery card provided
Store them in a secure, offline location
Never store digitally or online
Never share the seed with anyone
Anyone with access to the recovery seed can control your crypto.
Step 5: Confirm the Recovery Seed
Trezor requires you to verify the recovery seed to ensure it has been written correctly.
Why This Step Is Important
Confirms accuracy of your backup
Prevents loss of funds due to mistakes
Ensures long-term wallet recovery
Take your time and double-check each word carefully.
Step 6: Add Cryptocurrency Accounts
Once setup is complete, you can add cryptocurrency accounts within Trezor Suite.
Popular Supported Assets
Bitcoin (BTC)
Ethereum (ETH)
Litecoin (LTC)
Cardano (ADA)
ERC-20 and other tokens
Trezor Suite allows you to view balances, receive funds, and send transactions securely.
Step 7: Enable Passphrase Protection (Optional)
For advanced users, Trezor offers optional passphrase protection.
Benefits of Using a Passphrase
Adds an extra security layer
Creates hidden wallets
Protects funds even if the recovery seed is exposed
A forgotten passphrase cannot be recovered, so store it safely.
Step 8: Best Practices for Secure Usage
Proper security habits help protect your assets over time.
Recommended Security Tips
Always verify transaction details on the device screen
Never enter your recovery seed on websites
Keep your computer malware-free
Ignore suspicious emails or messages
Use only official Trezor software
Step 9: Keep Firmware Updated
Trezor releases firmware updates to enhance security and functionality.
Firmware Update Tips
Back up your recovery seed before updating
Update only through Trezor Suite
Do not disconnect the device during updates
Firmware updates do not delete your crypto when done correctly.
Troubleshooting Common Setup Issues
Some users may experience minor issues during setup.
Common Problems and Solutions
Device not detected → Try another USB port
PIN issues → Enter carefully and slowly
Firmware errors → Restart Trezor Suite
Official help resources are always available through Trezor.io/start.
Why Trezor.io/start Is the Only Trusted Setup Page
Scam websites often imitate official wallet setup pages.
Risks of Fake Setup Pages
Stolen recovery seeds
Malware installation
Permanent loss of crypto assets
Always verify the website URL before starting any setup process.
Conclusion: Take Full Control of Your Crypto with Trezor
Trezor.io/start is the correct and secure way to set up your Trezor hardware wallet. By following the official steps—inspecting your device, securing your recovery seed, and using Trezor Suite—you gain complete ownership and control of your digital assets.
Trezor empowers users with strong security, transparency, and peace of mind. Start securely, stay protected, and manage your cryptocurrency with confidence.